Manpower ERP Documentation
ERP documentation version 1.0
Introduction
- Item Name : Manpower ERP Documentation
- Item Version : v 1.0
- Author : Suman Shrestha
- Support Forum : Via WhatsApp / Messenger / Viber / Twak.to
- License : MultiTech User License
Getting Started
General Information about this System
Manpower ERP systems compile all the information in systematic formats and store it on a centralized database. Management can have a look at all of this data instantly and even make decisions by applying many analytical operations on that data.
The data as well as the reports can be accessed by all the departments like human resources, sales and marketing, supply chain at the appropriate level of seniority, and are naturally visible to the topmost management as well.
Manpower ERP systems provide a smart, scalable solution to the connectivity, coordination and integration woes of many businesses. There’s no need to manually dig up the data and extract information out of it- the software does it for you.
Login System
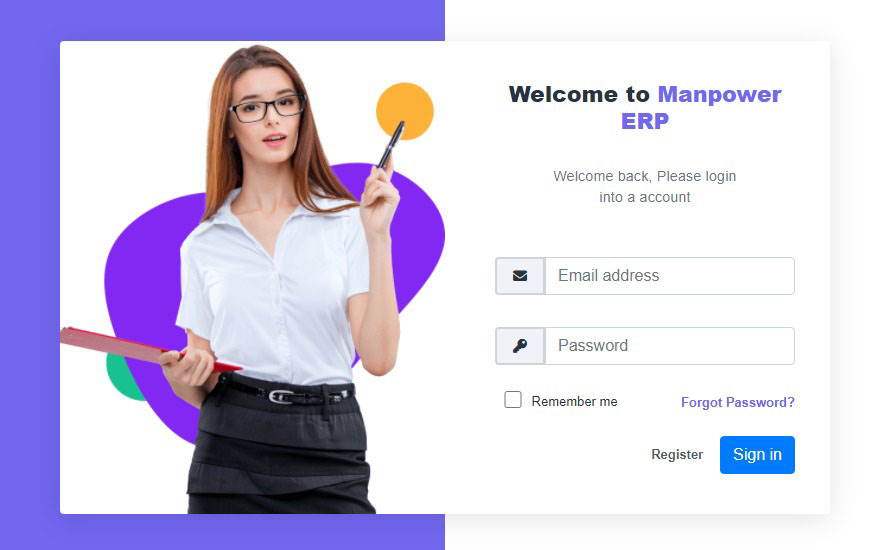
Use your login credentials in the above login form with your username and password accordingly. You can also click at "Remember Me" checkbox, if you want to Save your password for next Login, so that you do not have to re-enter the username and password. Although this is a bad practice, we recommend you to remember your login details or kept it in a safe place.
Dashboard System
After Successfully logged in, now the browser will take you to the System Dashboard where you cen see the below screenshot.

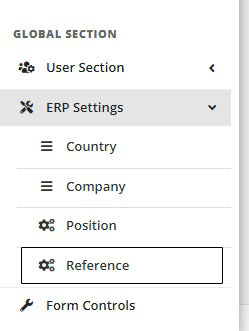
ERP Settings
This settings is for Adding New Countries, New Countries, New Job Positions (Job Categories) and New References (Agents). If you add the above listings, then it will be easier in filling up in Passport Entry system by selecting it from select drop-down lists.
Adding Country List
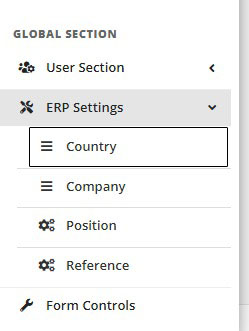
- Click at ERP Settings
- Click at Country
- Click at Add New Country
- Type Country Name
- Click at Save button
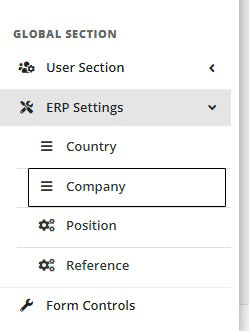
Adding Company List
- Click at ERP Settings
- Click at Company
- Click at Add New Company
- Type Company Name
- Select the country from drop-down select box
- Click at Save button
Adding Position List
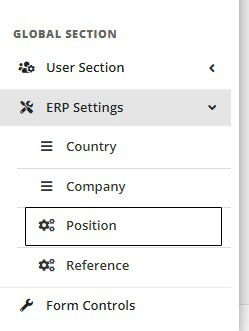
- Click at ERP Settings
- Click at Position
- Click at Add New Position
- Type Position Name
- Click at Save button
Adding Reference List
- Click at ERP Settings
- Click at Reference
- Click at Add New Reference
- Type Reference Name
- Type Email, Phone and Address
- Click at Save button
Users Section
Click at the User Section, click at All Users menu link and you will get the following image.
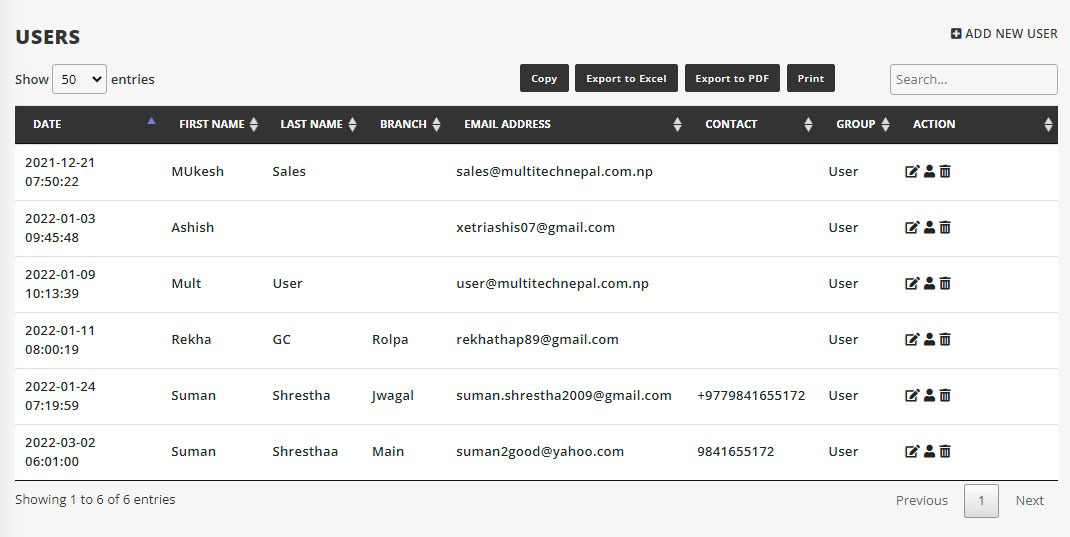
Add New User
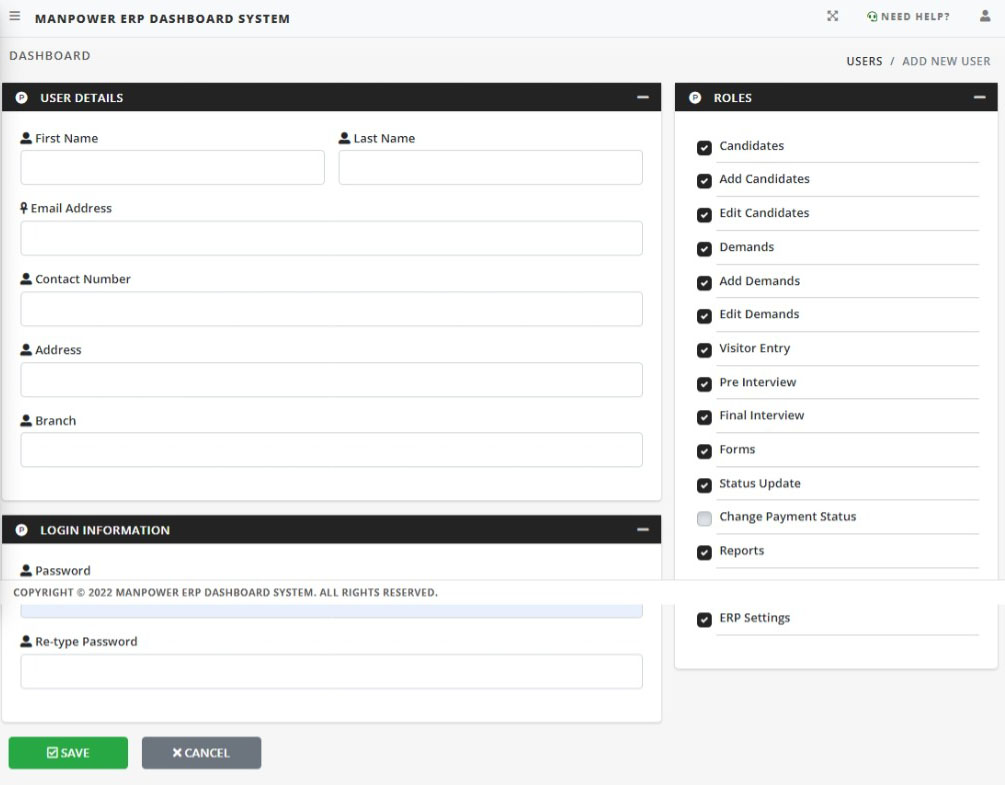
- Click at User Section
- Click at Add New User
- Type User's First Name, Last Name, Email Address, Contant Number, Address, Branch and set user Password.
- At right sidebar, Roles Section, you can set that user permissions for letting that user to access the system applications.
- Check / Un-check all the checkboxes as necessary for that user.
- Click at Save button
Candidate Entry
General Information about this Entry System
This is the most important section of our Manpower ERP Application system. This section controls all the flows of the system. Without candidates, this system can't perform smoothly. So as much as we have candidates entries into our system, the more we have the reports and functionalites to discover.
Click at Candidate Entry from your left sidebar menu list and you will get the below image.
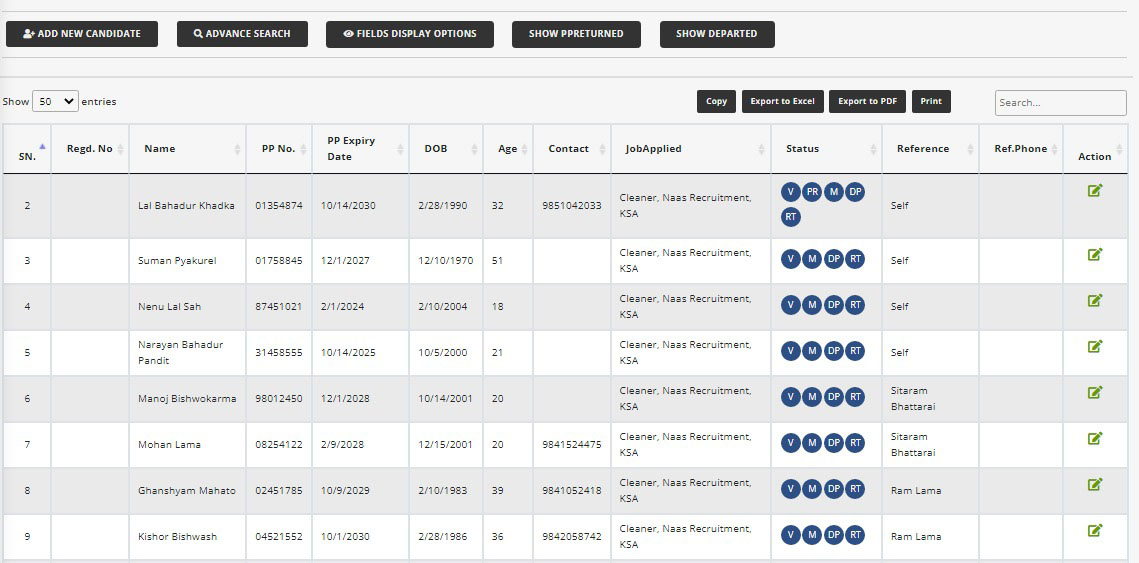
Add New Candidate
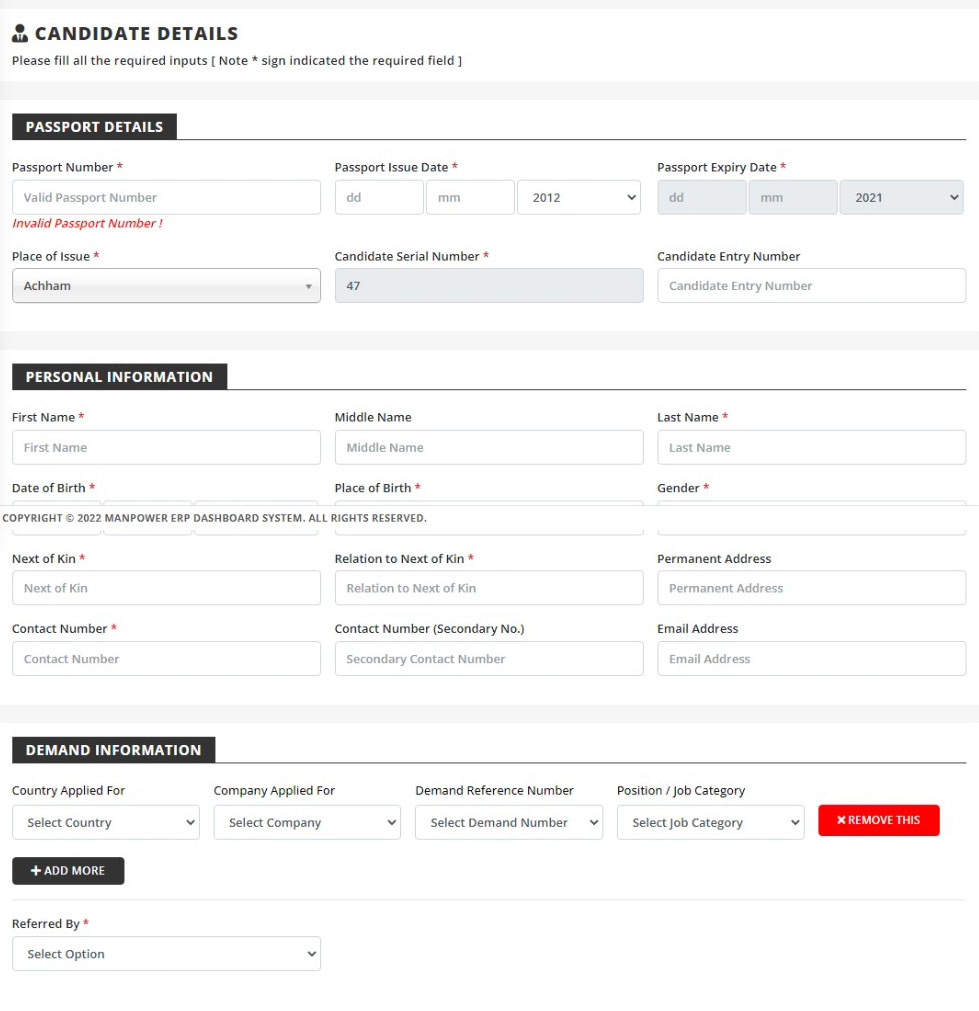
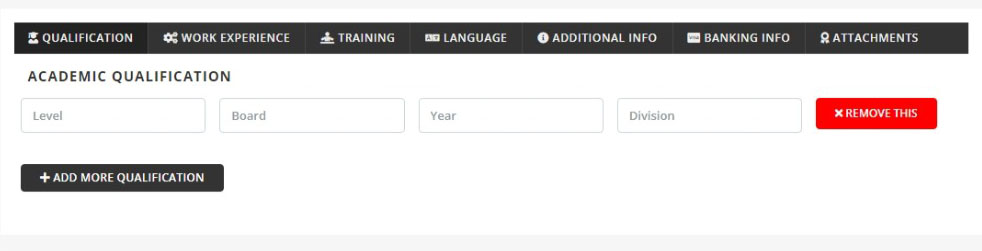
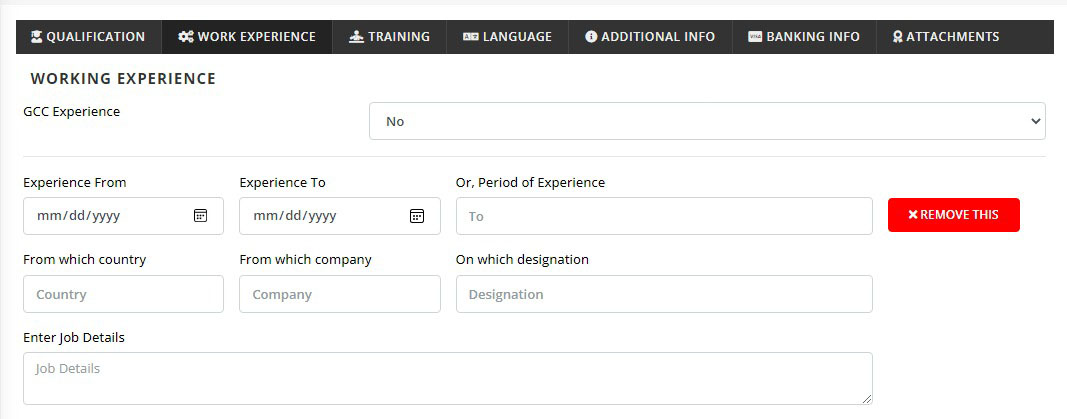
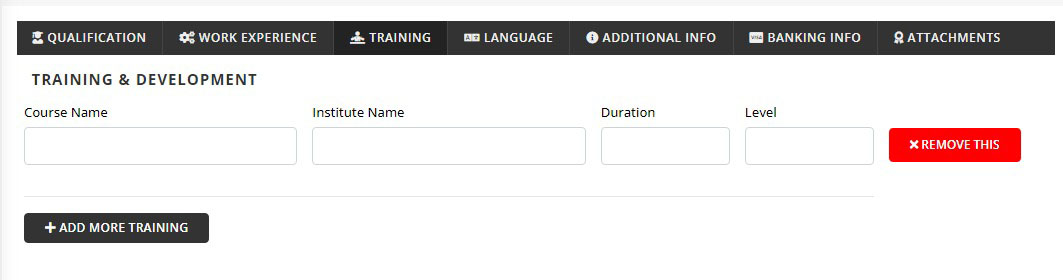

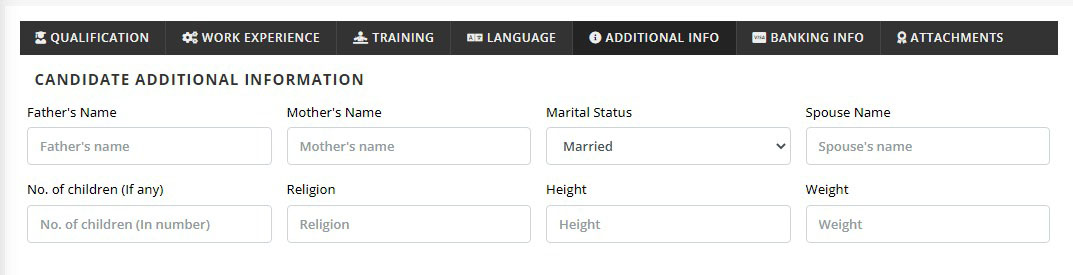
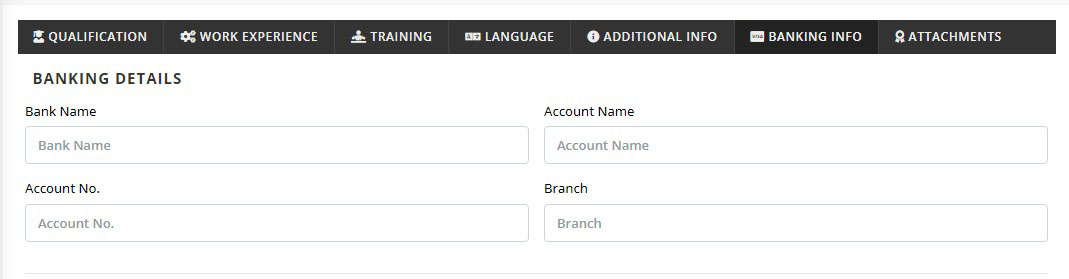
- Click at Add New Candidate button
- Type all the fields that you have information on that candidate
- Remember * with red color fields are compulsary to type
- Click at Save button
Note: Candidate Serial Number is automatically generated by software you do not need to enter it.
Candidate Entry Number is the Number in the register where you register the PP Manually.
If there is No Country, Company, Position, Reference in the dropdown list of of respective Fields then you can enter new Country, Company, Position , Reference by clicking enter new in the dropdown list.
Advance Search Candidate
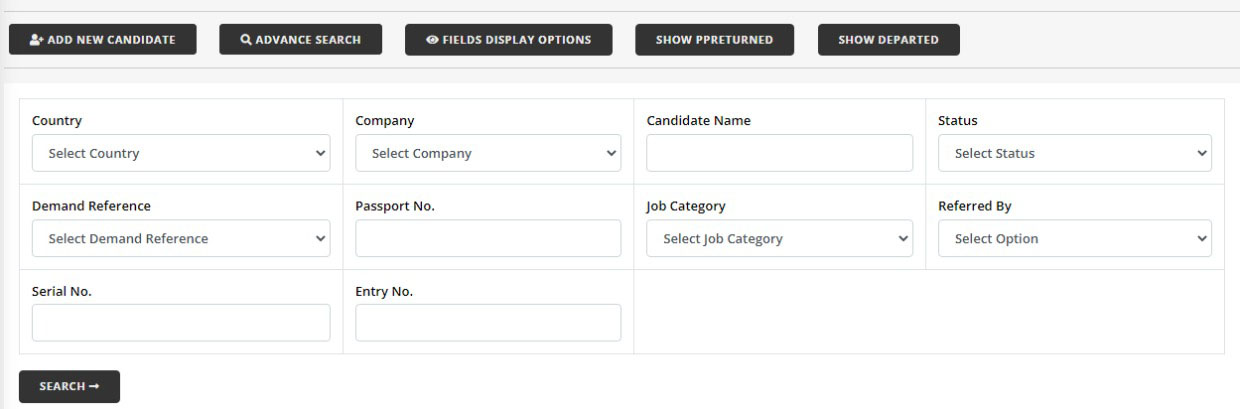
If single search box doesnot fulfil your needs, here we have Advance Search system for you. You can specify the fields according to your needs here.
The search filter consists of Country, Company, Candidate Name, Status, Demand Reference, Passport No., Job Category, Referred By, Serial No., and Entry No.
- If you want the display of only the specific country in your search filter, you can just select the desired country from the drop-down select box and ignore the rest filter.
- If you want the display of only the specific company in your search filter, you can just select the desired company from the drop-down select box and ignore the rest filter.
- If you want the display of only the specific status in your search filter, you can just select the desired status from the drop-down select box and ignore the rest filter.
- If you want the display of only the specific demand in your search filter, you can just select the desired demand from the drop-down select box and ignore the rest filter.
- If you want the display of only the specific job category in your search filter, you can just select the desired job category from the drop-down select box and ignore the rest filter.
- If you want the display of only the specific agent in your search filter, you can just select the desired Referred By from the drop-down select box and ignore the rest filter.
- Or else,
- If you want to use all search filters, you can also do that according to your needs.
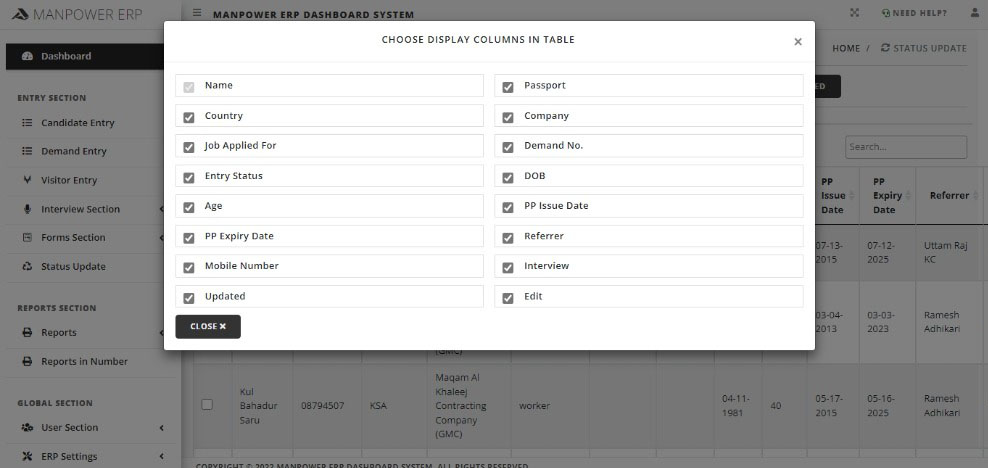
Fields Display Option
Here in this section, you can opt the candidates listing display by adding new columns or removing un-wanted columns from your listing.
Show PP Returned
If you clicked at this button link, it will displays all the listings of Candidates with Passport Returned from your company.
Hide Departed
If you clicked at this button link, it will hide all the listings of Candidates with departures.
Demand Entry
General Information about this System
Click at Demand Entry menu link from your left sidebar and you will get the following image.
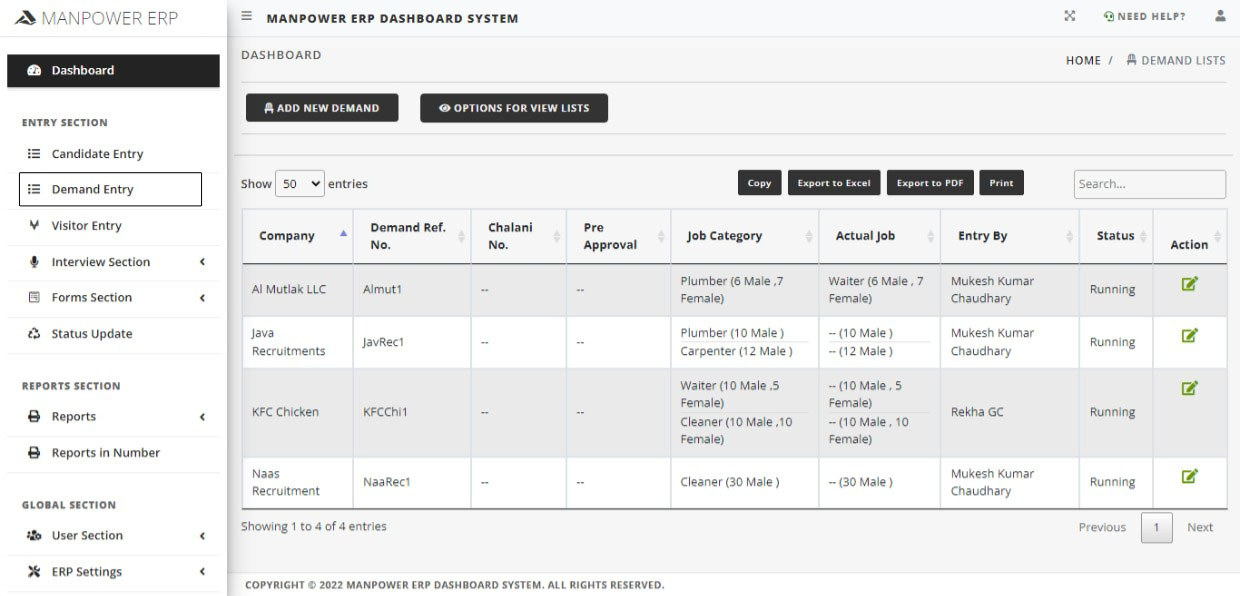
Add New Demand
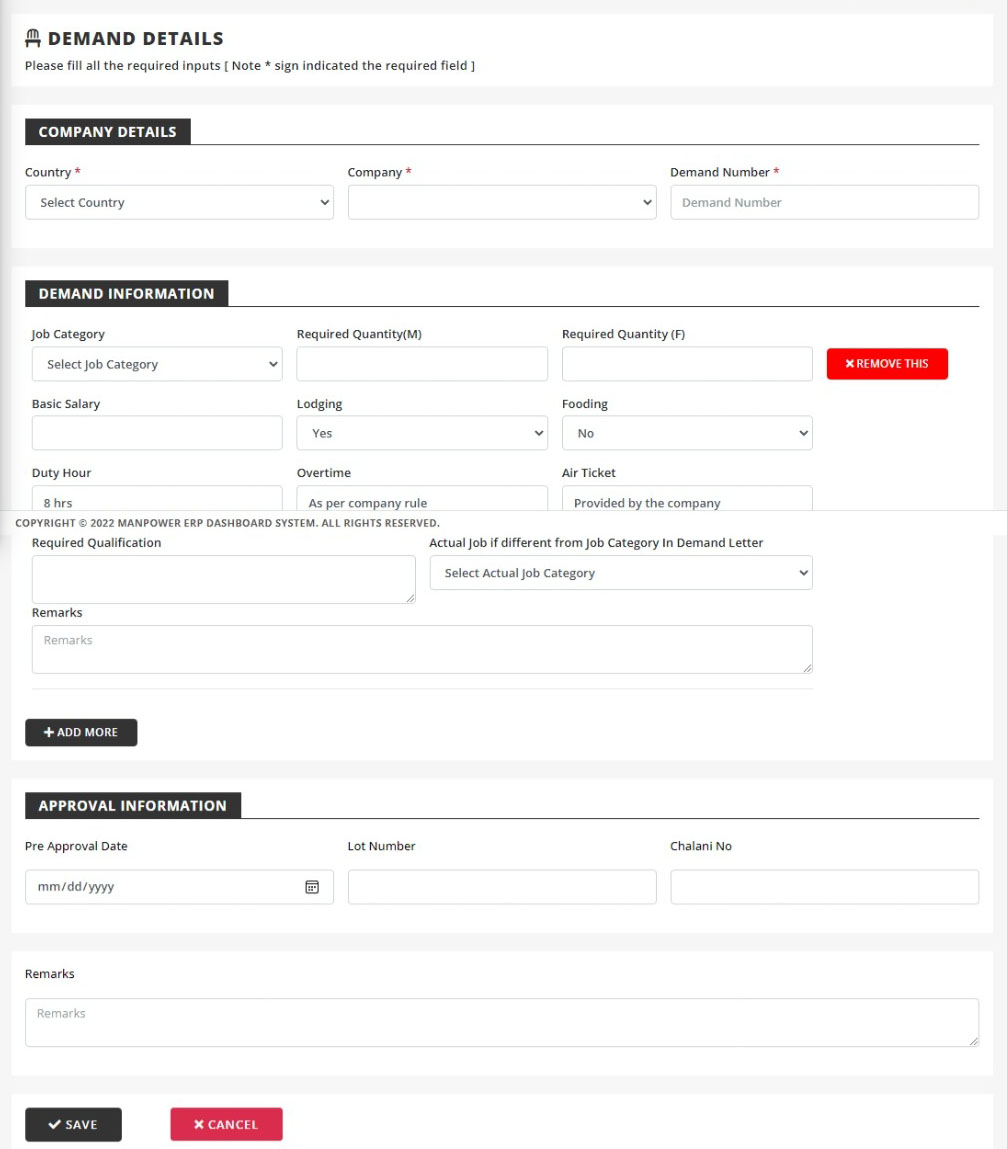
- Click at Add New Demand button
- Type all the fields that you have information on that demand
- Remember * with red color fields are compulsary to type
- Click at Save button
Visitor Entry
General Information about this System
Click at Visitor Entry menu link from your left sidebar and you will get the following image.
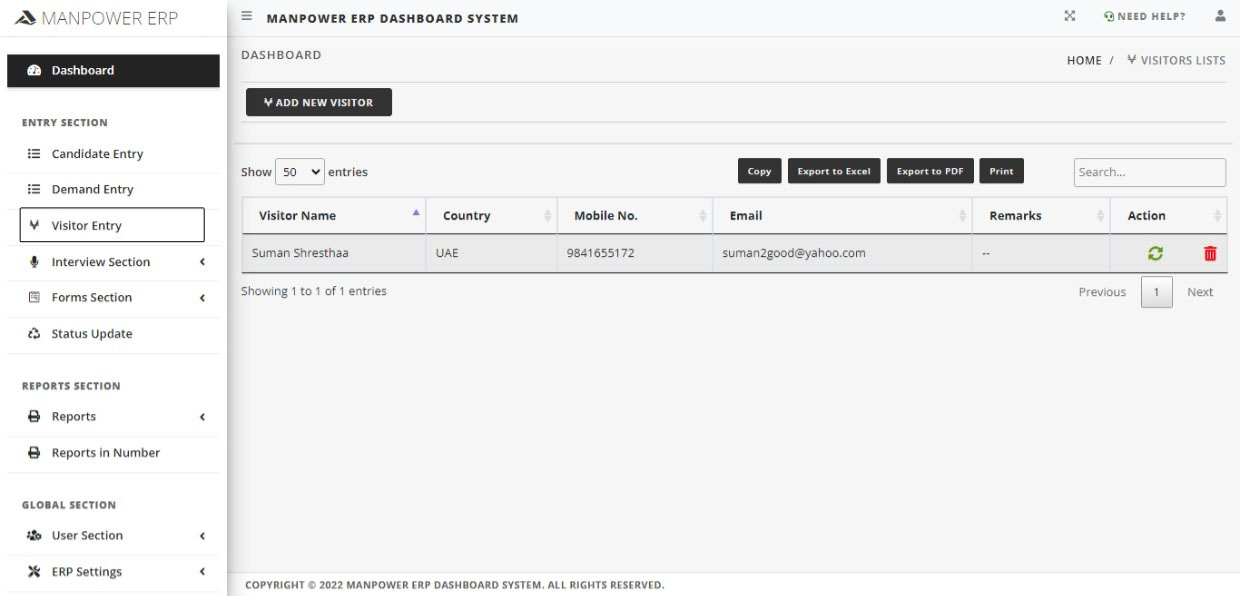
Add New Visitor
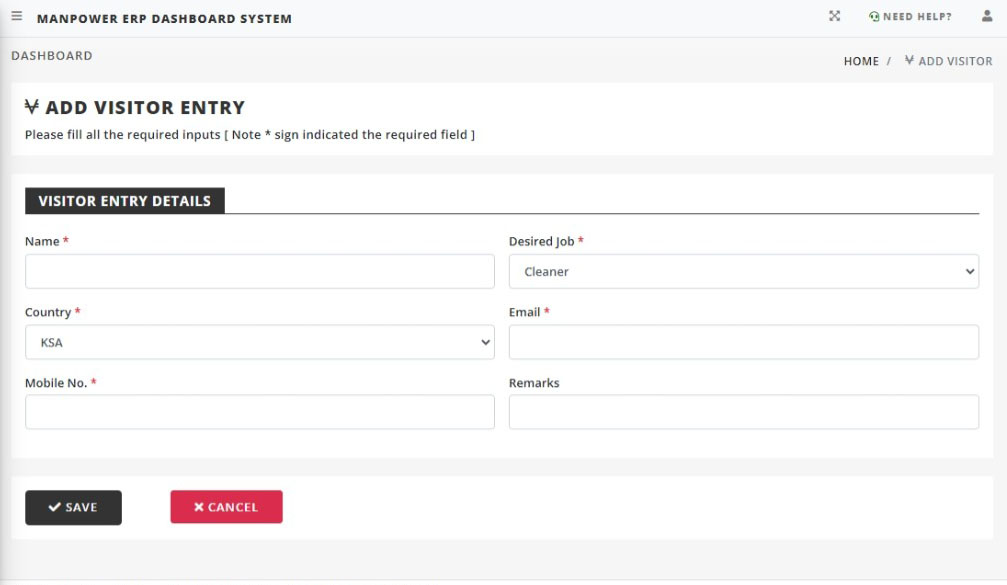
- Click at Add New Visitor button
- Type all the fields that you have information on that demand
- Remember * with red color fields are compulsary to type
- Click at Save button
Interview Section
Individual Entry
Click at Interview Section and click at Individual Entry menu link from your left sidebar and you will get the following image.

Update Candidate Interview Individually
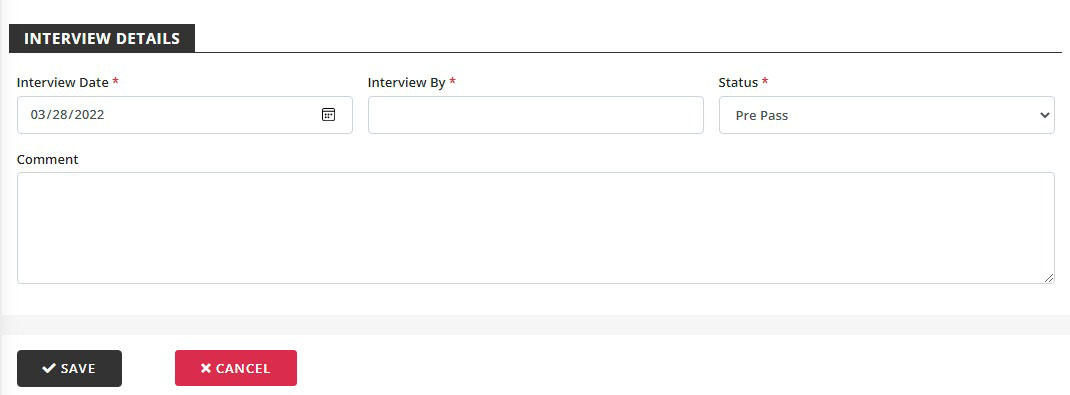
- Click at Edit button link at Action Column
- At Interview Details Block, make necessary changes for that candidate
- Interview Date, Interview By and Status is mandatory. You can also add personal comments on that cadidate at comment field as optional but not mandatory.
- At Status, select the status as Pre-Pass, Final Pass or Rejected as required
- Click at Save button
Note: After making a change of any candidate, in the interview listing page, a different color will be displayed.
- Eg. if you select Rejected option, that candidate will be displayed in Red row.
- If you select Pre-Pass option, that candidate will be displayed in Yellow row
- If you select Final Pass option, that candidate will be displayed in Green row.
Group Entry
Click at Interview Section and click at Group Entry menu link from your left sidebar and you will get the following image.
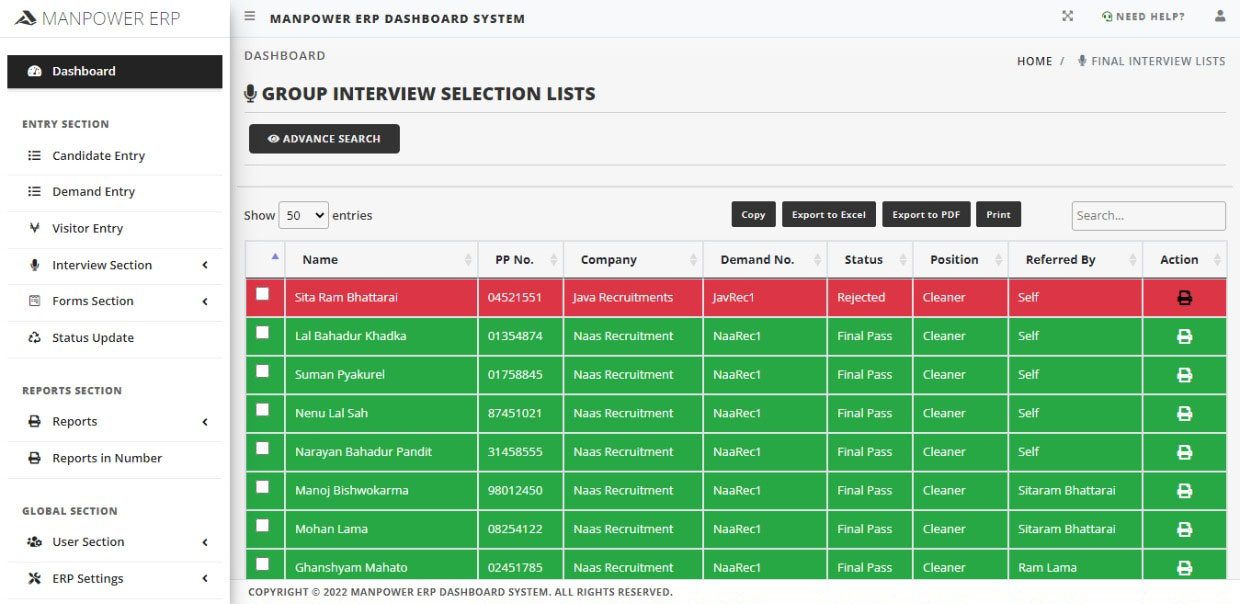
Update Candidate Interview in Group

- Click at checkboxes of required candidates
- At Set Interview Selection Block, make necessary changes for that candidate
- Interview Date, Interview By and Status is mandatory. You can also add personal comments on that cadidate at comment field as optional but not mandatory.
- At Status, select the status as Pre-Pass, Final Pass or Rejected as required
- Click at Save button
Note: After making a change of any candidate, in the interview listing page, a different color will be displayed. Eg. if you select Rejected option, that candidate will be displayed in Red row, if you select Pre-Pass option, that candidate will be displayed in Yellow row and if you select Final Pass option, that candidate will be displayed in Green row.
Forms Section
Application Forms
Click at Forms Section and click at Application Forms menu link from your left sidebar and you will get the following image.
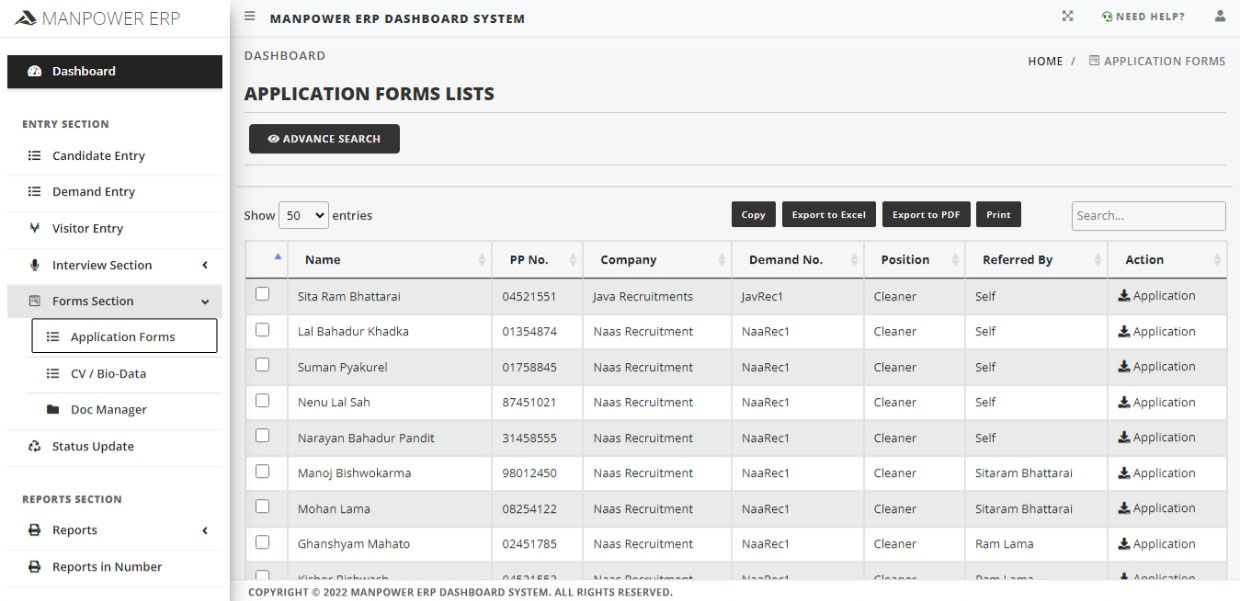
- Click at checkboxes of required candidates
- At Action Last Column, click at Application link for that candidate
- Now the Application Form will be generated by the ERP system
CV / Bio-Data
Click at Forms Section and click at CV / Bio-Data menu link from your left sidebar and you will get the following image.
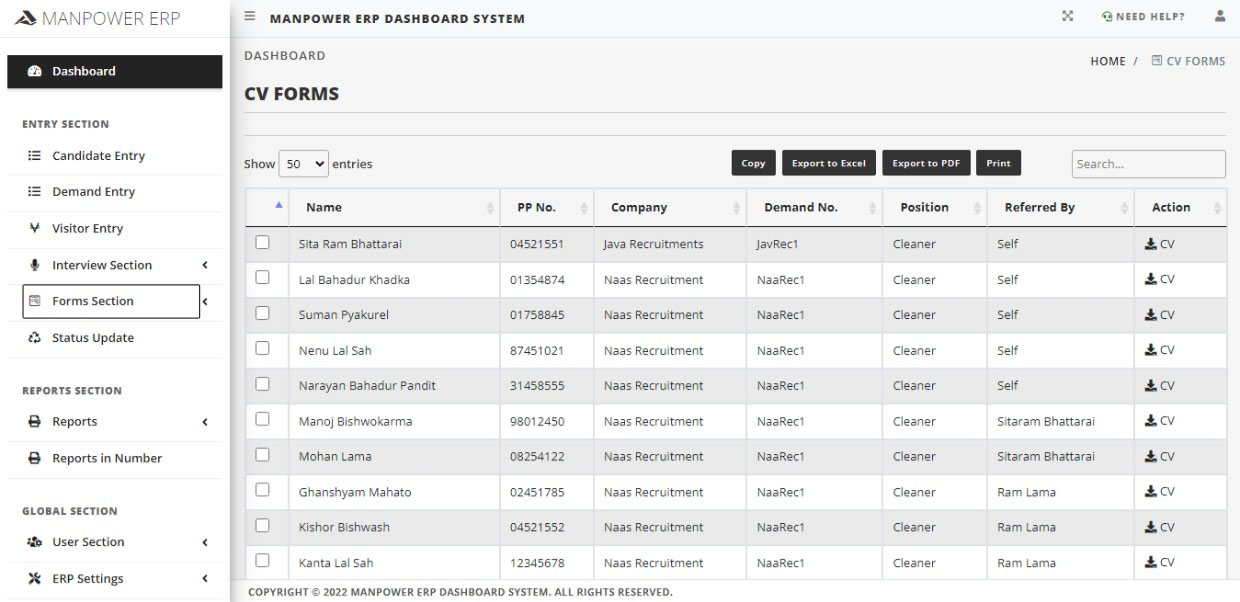
- Click at checkboxes of required candidates
- At Action Last Column, click at CV link for that candidate
- Now the CV / Bio-Data will be generated by the ERP system
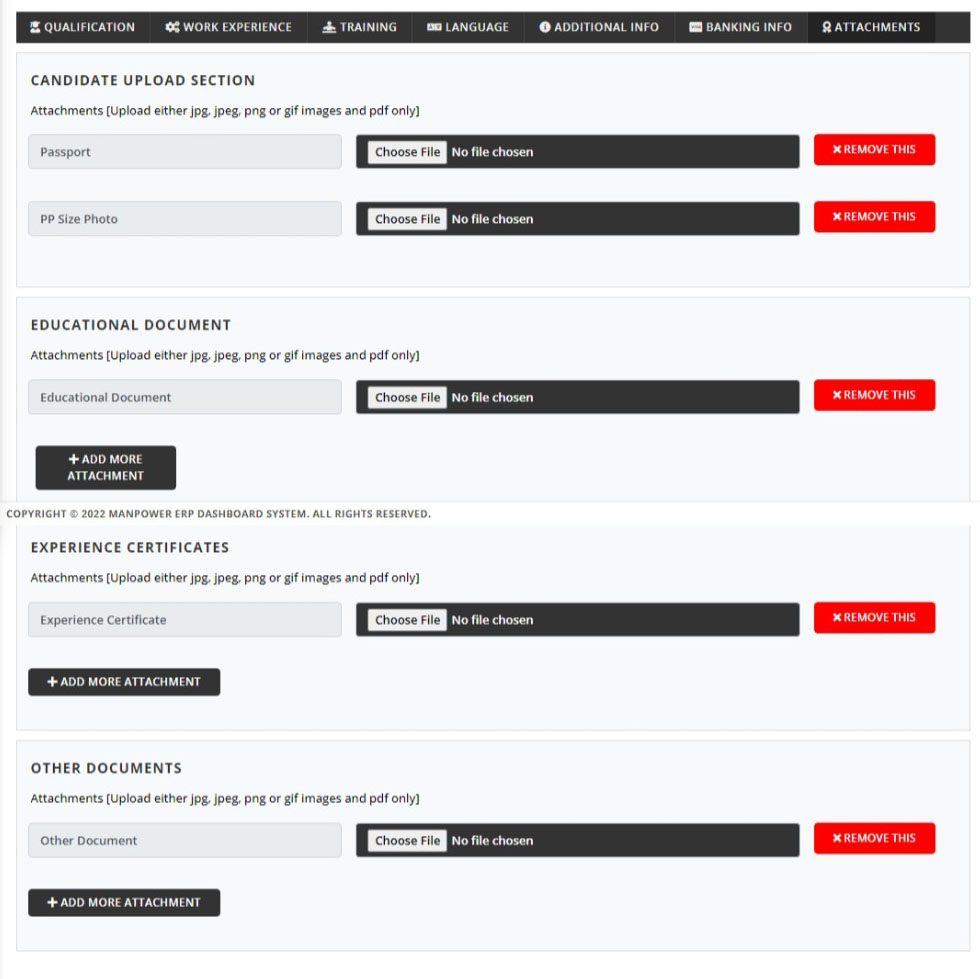
Doc Manager
Click at Forms Section and click at Doc Manager menu link from your left sidebar and you will get the following image.
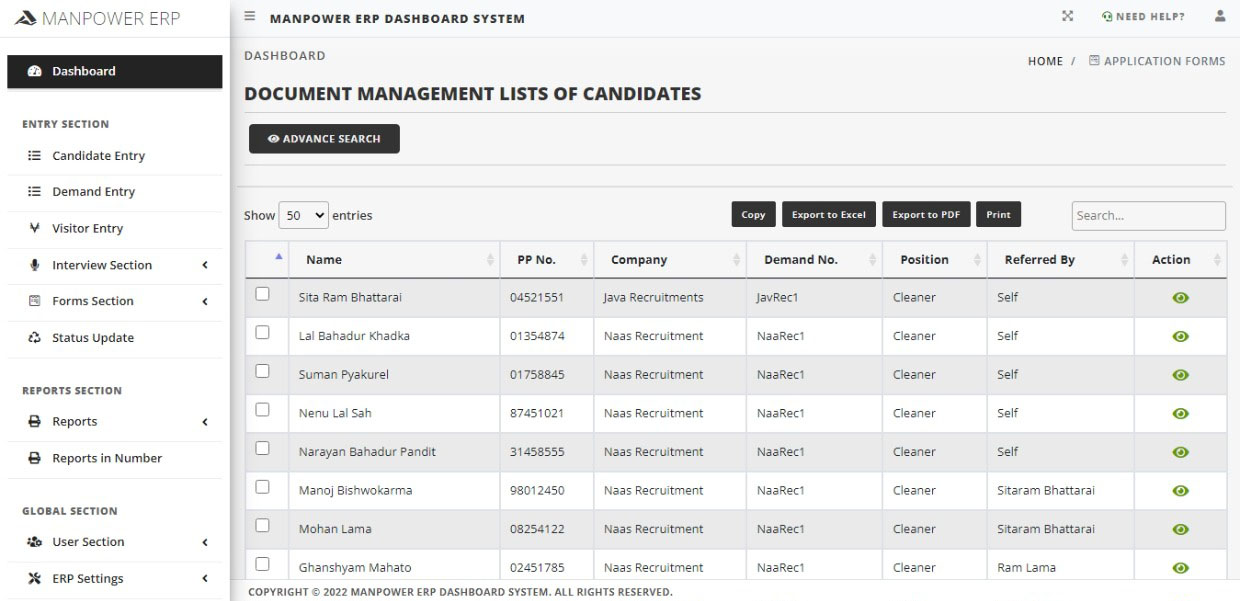
- Click at checkboxes of required candidates
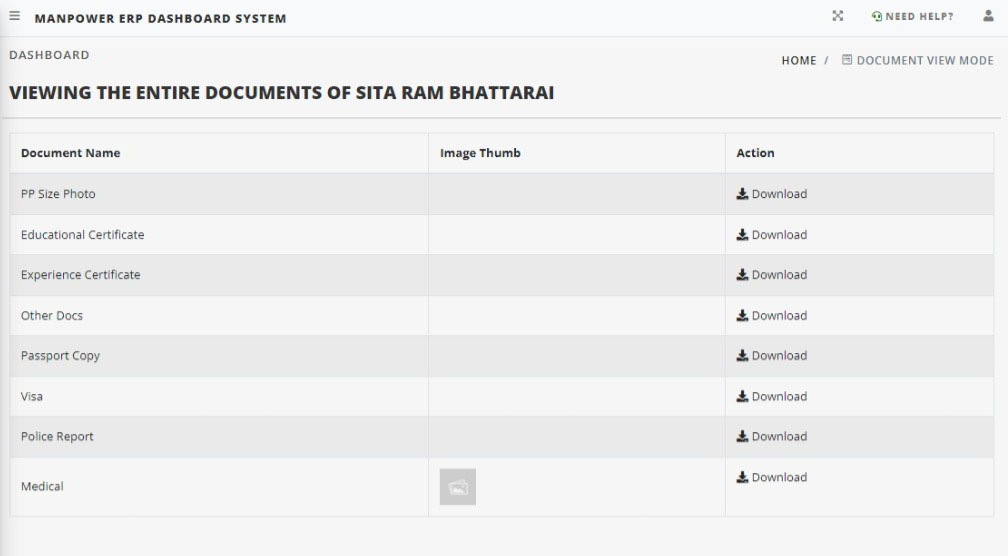
- At Action Last Column, click at Eye Icon link for that candidate
- Now the ERP system will take you to that candidate Document Manager Folder where you can download the image data
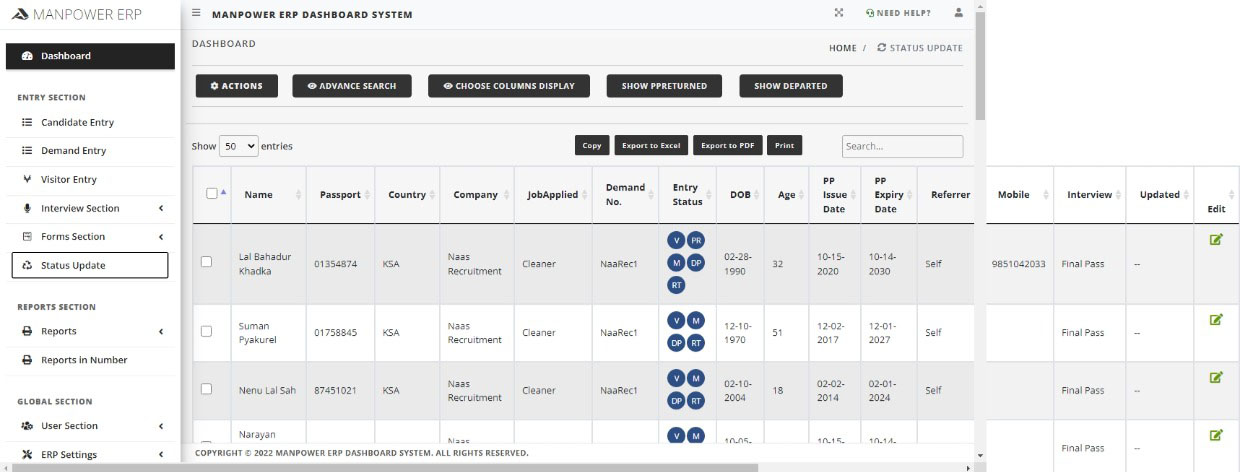
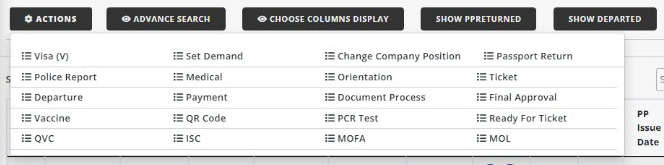
Status Update
General Information about this System
Reports Section
Demand Reports
Interview Selection
Passport Return
Visa Reports
Police Reports
Medical Reports
Orientation Reports
Ticket Reports
Departure Reports
Payment Reports
Vaccine Reports
QR Code Reports
PCR Test Reports
Ready For Ticket Reports
QVC Reports
ISC Reports
MOFA Reports
MOL Reports
Document Process Reports
Final Approval Reports
Summary Reports
Company Change Reports
Form Controls
General Information about this System
Support Desk
We have awesome Support this System
The following are the means of support providing medias that we have got you covered for this Manpower ERP system.
- WhatsApp Chat / Call ( 9851198561, 9841655172 )
- Viber Chat / Call ( 9851198561, 9841655172 )
- Messenger Live Chat
- Email Us admin@multitechnepal.com.np
- Last not the least, direct Call Us ( 9851198561, 9841655172 )
Files & Sources
Updated Soon
Version History ( Changelog )
Manpower ERP Version 1.0 : 1st initial release 2022-04-01
Copyrights & Licence
All the Copyrights is reserved by Multitech Support & Development. Term Licence will be provided to all the users based on the aggrement and contract signing of the usage of software. Multitech doesn't owns the client's database in this case, and only protect the database of client with full secure cloud infra-structure server.